Earlier this morning Android Police leaked a factory image of Android 5.0 for the Nexus 7 (2012) Wi-Fi model. It appears that this image is the final one but as of this writing, there’s no confirmation. Update: it is indeed final.
If you are like me and don’t want to wait for Google to release the over-the-air-updates, follow this quick guide to get Lollipop up and running on your tablet.
[box type=notice]The factory images for all Nexus devices have been published. Get them here.[/box]
Requisites
- Nexus 7 drivers, which you can get here.
- ADB and Fastboot. You can use my custom installer for that.
- The factory image from Google that Android Police leaked.
If you already have the drivers and ADB/Fastboot skip these first instructions.
Installing the drivers
Power off the tablet and then press and hold the Power + Vol Down buttons until you see the fastboot screen. Once you are there connect the tablet to the computer and Windows will try to install the drivers.
Go to Control Panel and search for Device Manager. If you see a device listed with an error, you will need to install the drivers manually. Right click on it and select Update Driver Software.
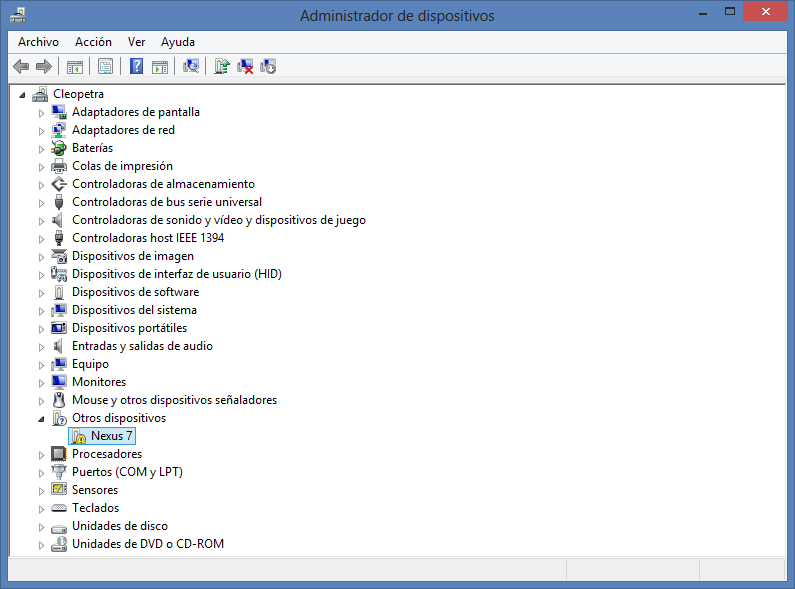
Click on Browse my computer for Driver Software and navigate to the folder where you extracted the drivers. Windows may ask you for authorization if you want to install the driver so simply click yes and proceed.
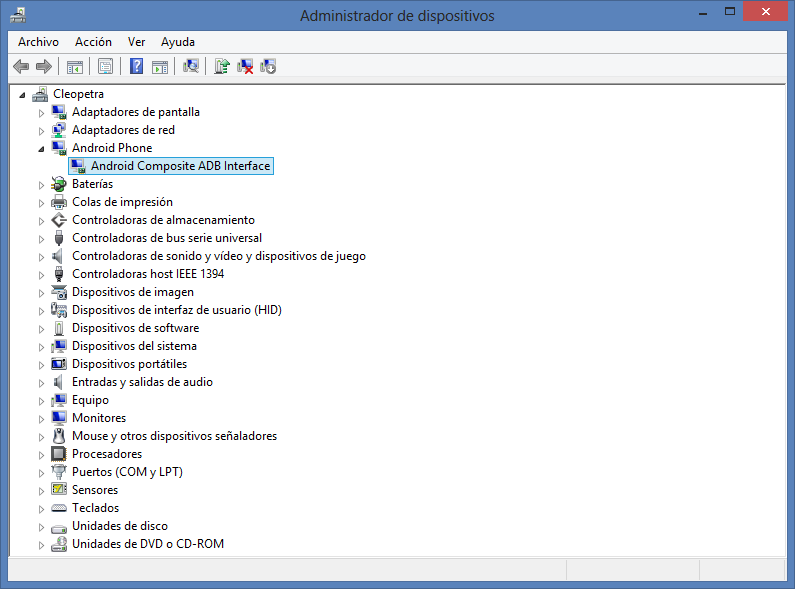
Once you are finished you will be able to see a device called Android Composite ADB Interface in Device Manager.
Installing ADB and Fastboot
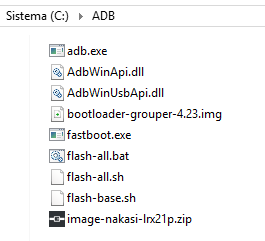
Run my installer and just follow the steps. This will install the ADB and Fastboot files in C:\ADB and add that path to the environment variables so you can acess both tools from anywhere in a command prompt.
To see if you can accees your tablet via ADB and Fastboot open a command prompt and type [highlight style=”color”]adb devices[/highlight]. If you see a serial number listed, everything is working.
To test fastboot mode, type adb reboot bootloader to boot into this mode. Once there, type [highlight style=”color”]fastboot devices[/highlight]. If you see a serial number listed, you are good to go.
Make a backup of your files
Flashing a factory image will wipe all the data in the tablet. Make a backup if you don’t have one and want to copy back any data after you flash the image.
Flashing the factory image
Open the .tgz file with WinRAR or 7-Zip and extract the files that are inside the nakasi-lrx21p folder to C:\ADB. Don’t extract that folder, just the files inside it.
Open a command prompt in the C:\ADB folder by pressing Shift and right clicking in an empty area inside that folder. Select Open command prompt here in the context menu.
Type [highlight style=”color”]flash-all.bat[/highlight] to flash the factory image. That file will execute a series of commands.
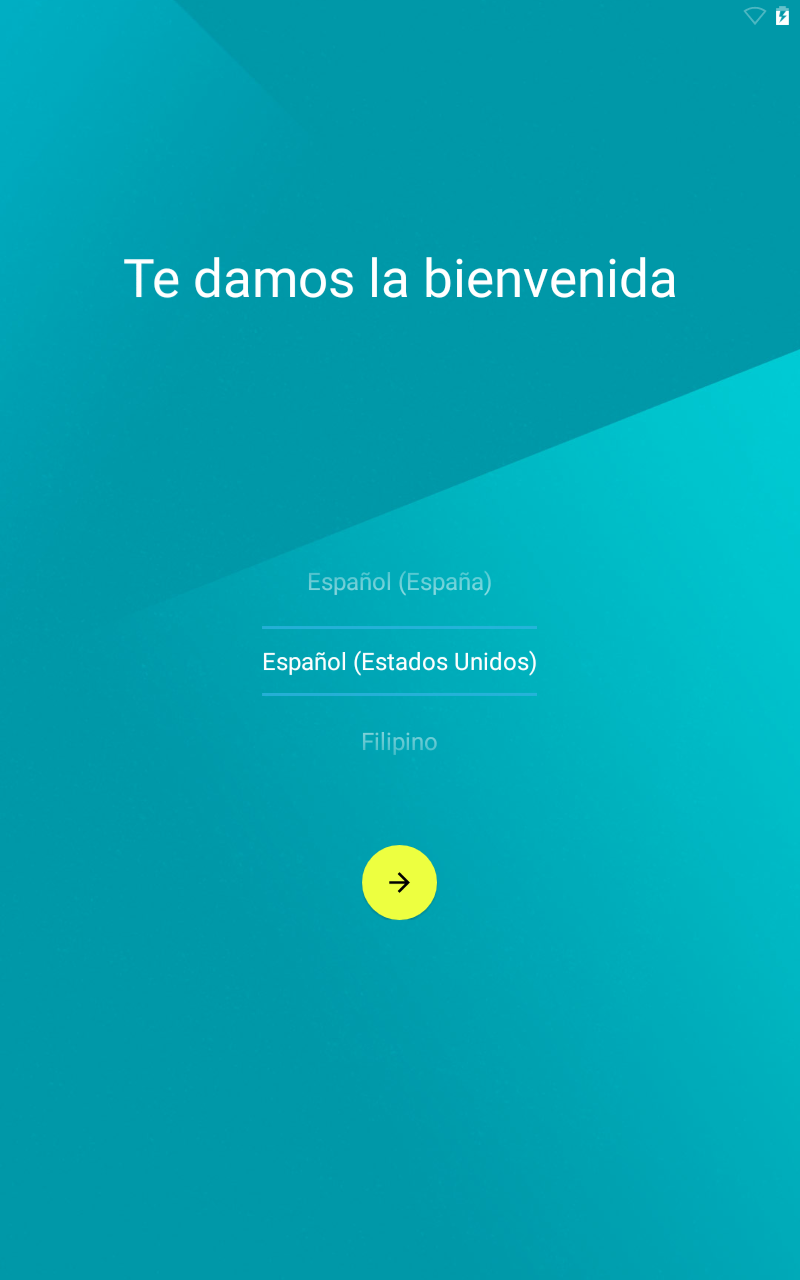
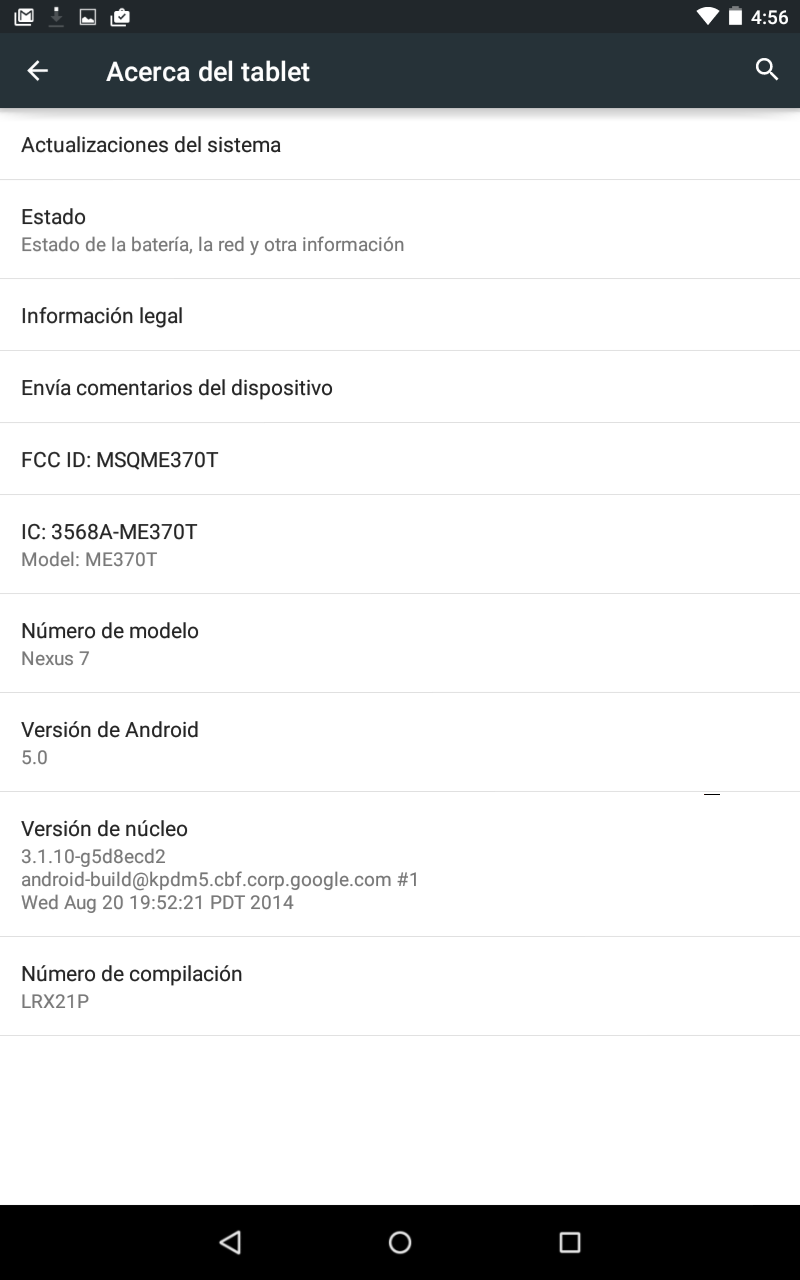
Once the script finishes, the tablet will reboot and you will be presented with the Android 5.0 Lollipop setup wizard.
Enjoy
That’s it. I hope this quick guide helped you.